Tuesday, June 3, 2014

Trout with Cilantro Mint Salsa


This made for a great dinner tonight. We love trout, however, the salsa is what makes this dish.
It is easy to make and can be made earlier in the day, which I like for convenience. The trout is grilled skin side down the entire time. It keeps it from drying out and from being too difficult to get off of the grill.


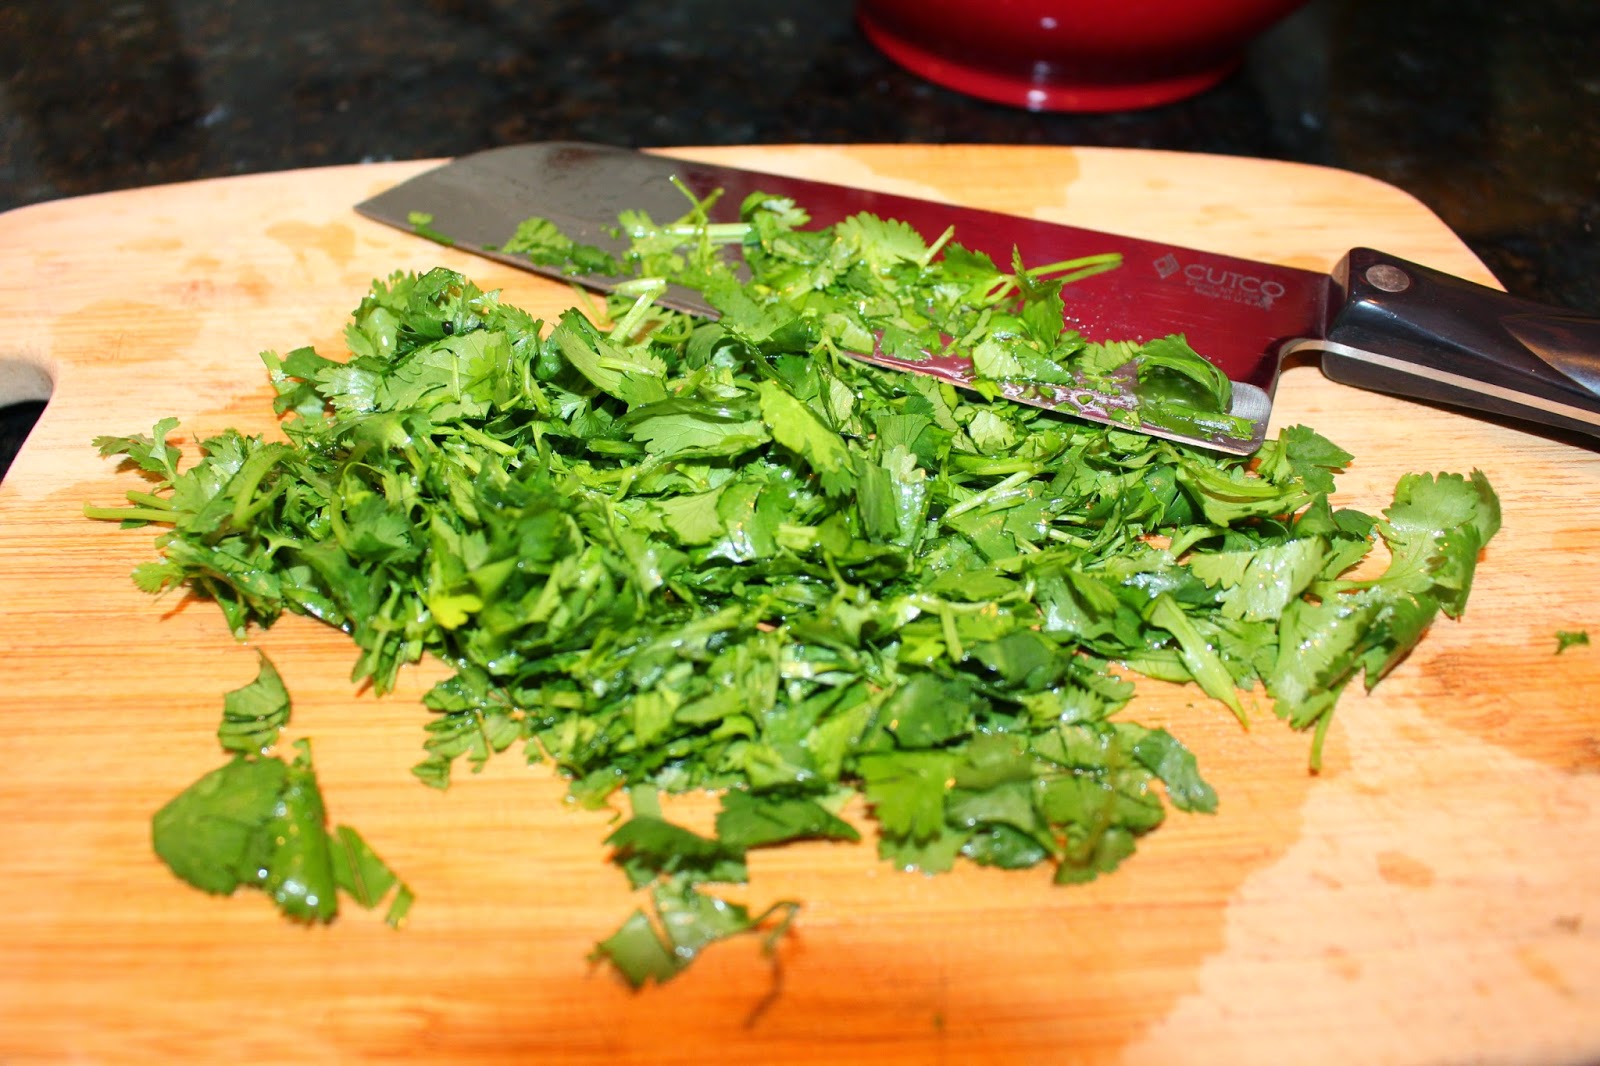
The salsa consists of a bunch of cilantro, a handful of mint, a Fresno or Thai chili, ginger, lime and a teaspoon of honey.


I do not use the seeds or veins of the chili, too hot for my taste.

 
Peel and grate about a 1/2 inch of ginger.

 
Juice of a lime.

 
Teaspoon of honey.


Salt and pepper to taste.


Good drizzle of olive oil.
 
There is the salsa. Leftovers are great on chicken, bread, eggs, etc.


I made a simple spring mix salad with olives, almonds and goat cheese. Dressed it with lemon juice and olive oil right before we ate.


A trick my sister taught me years ago when you have made your salad early in the day; cover it with a damp paper towel and it will stay fresh until dinner.

Monday, June 2, 2014

Ceviche

I love ceviche. It is fresh, summery and guilt free. The first time I made this recipe, I must admit that I was slightly terrified that the fish wouldn't actually cook. It did, to my great relief. This is a Marcella Valledoid recipe that I have modified just a bit.
First, you take a piece of  fresh tilapia.
 
Cut it into bite size pieces. PLace in a shallow small bowl.
 
 
Squeeze the juice of 4 limes into the bowl of raw fish.


Place the lime soaking fish into the fridge for 30 minutes or so.
 
 
Make some pico de gallo.


Add a peeled, seeded cucumber that had been diced to the pico.
 
 
A KEY step is to drain the fish from the lime juice that it "cooked" in.
 
 
Combine the fish with the cucumber pico de gallo and voila, ceviche!
 
This will be dinner tonight. I am serving it with a green salad that has some corn, onions and roasted red peppers. I am going to top it with Mexican Green Goddess dressing from Gwyneth Paltrow's cookbook, It's All Good.


I had to include a picture of this onion, as I grew it in my garden!
 
Ceviche
 
1 fresh tilapia filet, diced into bite size pieces
5 limes, halved
2 tomatoes, seeded and diced
1/2 small onion, chopped
1/2 jalapeño, seeded and finely chopped
handful of cilantro, chopped
1 clove of garlic, grated on a micro plane
3/4 cucumber, peeled seeded and diced
salt and pepper
 
Put the tilapia into a small nonreactive bowl. Add in the juice of 4 of the limes. The lime juice should completely cover the fish. Place the fish into the refrigerator for 30 - 45 minutes. While the fish is "cooking" in the lime juice, make the pico.
 
Combine the onion, tomatoes, cilantro, jalapeño, garlic and cucumber. Season to taste with salt and pepper. Add the juice of the remaining lime.
 
When the fish is ready, drain all of the lime juice that it "cooked" in off of the fish. This is an IMPORTANT step. The discarded lime juice will not taste good and you o not want it in your final product. Combine the fish with the cucumber pico de gallo. Serve immediately or cover and refrigerate for up to two days.


Saturday, May 31, 2014

I have been gone for a year...


I haven't posted anything for a year. Well, I got a new job that kept me very busy!! Also, I have been reexamining my relationship with food. Our household was eating way to much processed food, gluten and sugar. I have been on a mission to try to eat healthier. I am now on a mission to eat healthier and for it to taste good! My goal this summer is to post delicious and healthy recipes. Some things may be a disaster, some will be hits. I have a new admiration and love of quinoa. It will probably be showing up a lot on posts, especially ways to use up the leftover quinoa. Lives are busy, cooking has to be doable. The reason we turn to to processed food is because it is easy. While I know that I am a better cook than the factory that makes the frozen pizza, it is far easier to open the freezer that to knead a clump of dough. Being a teacher, I have time to play this summer to be a better, healthier home cook.

Wednesday, May 29, 2013

When Life Gives You Limes.......


Recently my husband was going to Costco to pick up a couple of things. I needed a couple of limes for some guacamole that I was making. Not wanting him to have to stop at two places, I asked him to pick up limes at Costco. Can I just say, there are A LOT of limes in a bag of limes from Costco. I probably had twenty to thirty limes. Never one to be beaten by an ingredient, I have taken an old saying and modified it to fit my predicament. While making limeaid did put a dent into my limes, this is part one of a three part installment to the lime conundrum. Yes, making a hundred margaritas did cross my mind, but I chose a more original, and sober, path.


Ginger Limeaid

8 or 10  limes, about 1 c. lime juice, with at least 1/2 lime left over to garnish
1 c. sugar
1 2 inch strip of ginger
1 c. water
1 bottle sparkling water

Combine the sugar, water and ginger in a small saucepan. Heat until the sugar dissolves. Remove from heat and let cool.


While the gingered simple syrup is cooling, juice the limes to make a cup of fresh lime juice. Add the sparkling water to the pitcher. Remove the strip of ginger from the simple syrup and add in the simple syrup to the pitcher. Fill the rest of the pitcher with water. Taste and adjust sugar if necessary. We like a tarter limeaid, so if you know you like sweeter, add in more sugar. Garnish with 1/2 lime sliced thinly in the pitcher.


Thursday, May 23, 2013

Salmon Cakes


I have not posted a recipe in months! I had knee surgery, and it is very difficult to cook while on crutches, let alone take photos of what you are cooking. Plus, I blog with my laptop laid across my lap, balanced by bent knees. Until very recently, thank you physical therapy, I haven't been able to bend my knee enough to hold the computer. The good news, though, I was out of the kitchen for so long, that I am very fired up to do loads of cooking! So lots of summer recipes are already in the planning stages.

Today, I had originally planned to go to the grocery store. But I decided to wait, because there will be good sales for Memorial Day weekend if I just waited a day. So I opened my fridge and played Chopped with what I had rolling around in the fridge. Salmon cakes were what I came up with. I prepped them a little differently than in past preparations and they turned out better than any salmon cake I have made. Here is the recipe.

Salmon Cakes

1 large steelhead trout salmon filet, skin on
1 bell pepper, chopped
2 ribs celery , chopped
1 ear of corn, roasted and cut away from the cob
1/2 onion, chopped
1 tsp Old Bay Seasoning
zest of 1 lemon
2 Tbsp. capers, chopped
1 egg, beaten
1/4 c. mayonnaise
2 Tbsp. Dijon mustard
2/3 cup panko breadcrumbs
salt and pepper
1/2 cup canola oil

Let me begin by stating that I cooked the corn and salmon on our grill because we live in Texas and it is hot. I try to turn on the oven in the house very little during the summer months. We have a gas grill and it is easy to light. Plus it heats up faster than the oven. Feel free to use your oven for the roasting.

Heat grill on high, 10 minutes. Cut off the very end tip of silk on your corn. Then, yes this really works, stick it on the top shelf of your grill husk, silk and all. Grill the corn 15-20 minutes, turning occasionally.


While the corn is roasting, you can cook the salmon. When the grill is hot, turn down the side burners and leave the center burner on high. Salt and pepper your salmon and brush on 1 tsp. of canola oil. Place the salmon, skin side down, on the grill where your burners are turned to low.


Close the cover on you grill and let the salmon cook for about 10 minutes. The grill acts like an oven. The center burner keeps the heat up, while cooking on the low burners keeps the salmon from charring into a lump of coal.

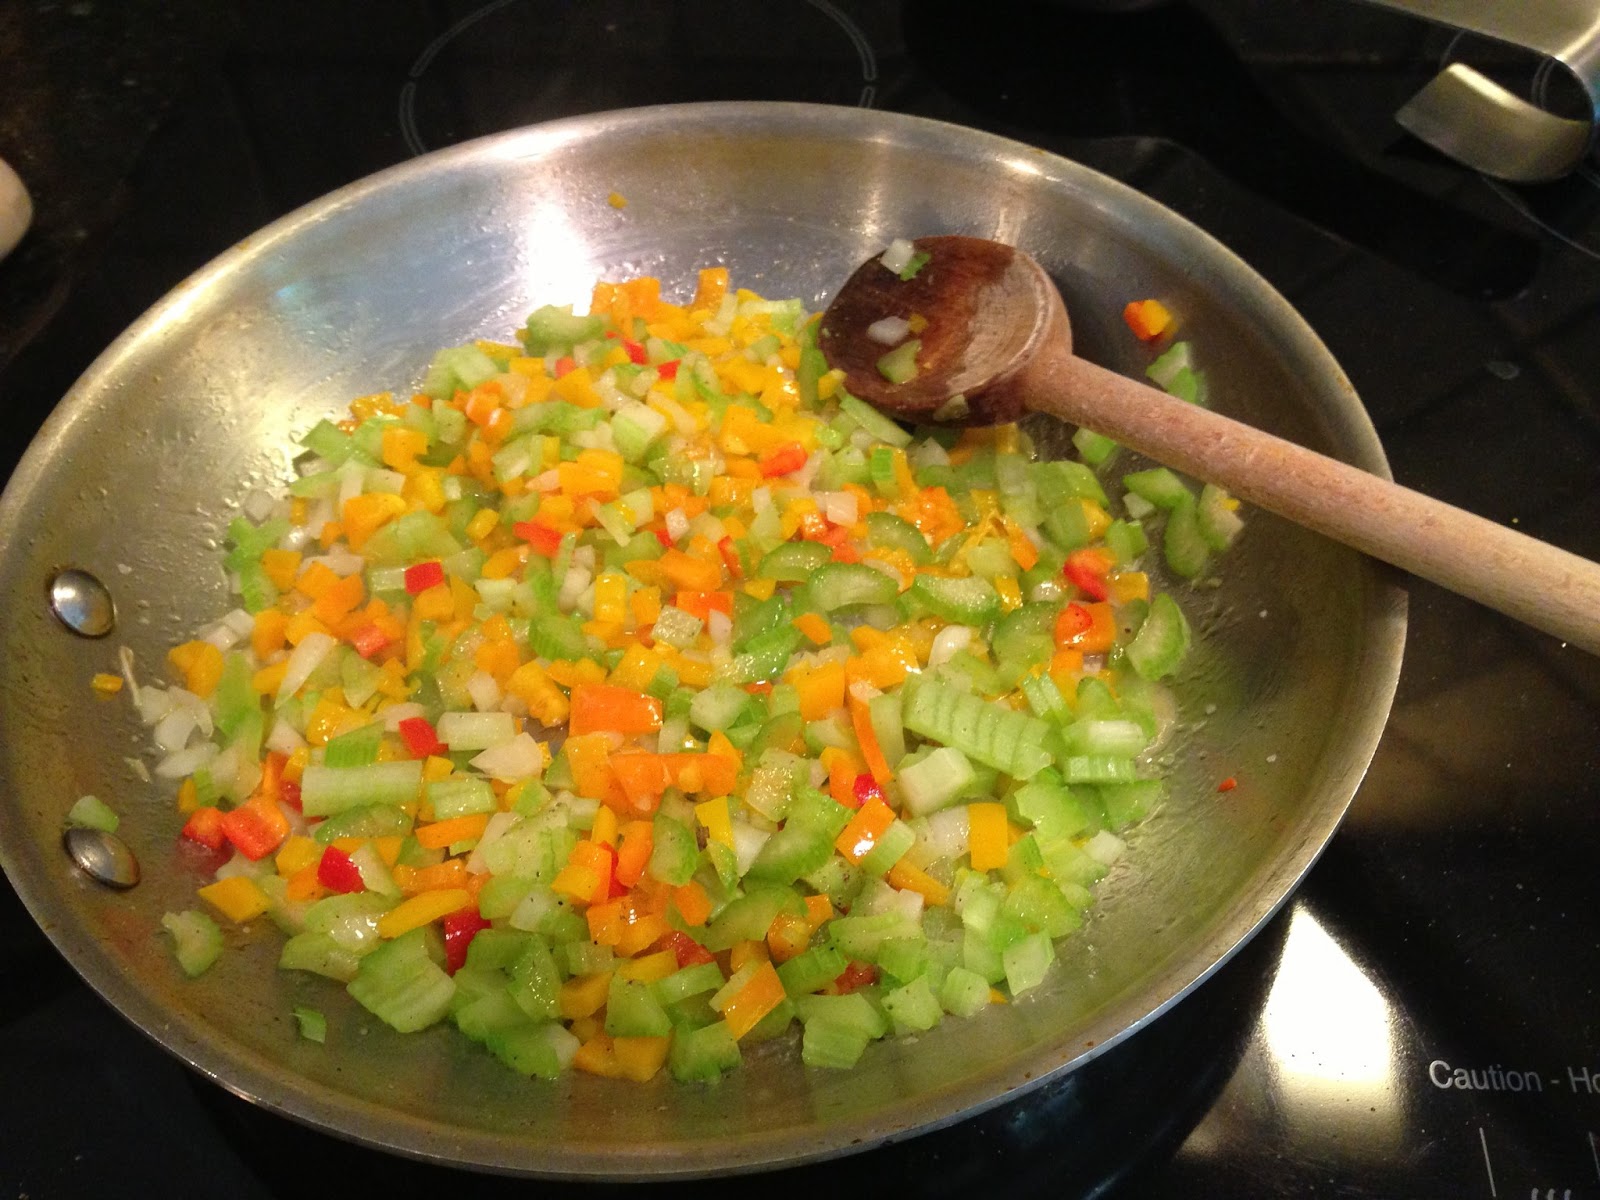
When the salmon and corn are ready, pull them off of the grill and let them cool. In a sauté pan over medium-high heat, sauté the onion, celery and pepper.


Salt and pepper them to taste, but don't go crazy with seasoning. The Old Bay that you add later is pretty salty, so you don't want to overdo it. Sauté until soft and translucent, but don't brown, about 6-7 minutes.  Put cooked celery, pepper and onion into large mixing bowl. Flake cooled salmon into mixing bowl with two forks. peel husk off of cooled corn, most of the silk will come off with it, and rub off any remaining silk. Cut the corn off of the cob into the mixing bowl. Add the capers, Old Bay, panko breadcrumbs, lemon zest,  beaten egg, mustard and mayo. Combine ingredients well.


Place flour into a large bowl, or plate with sides. Scoop about 1/2 cup of the salon mixtures into the palm of you hand and form into a patty. Coat the formed patty with the flour, then transfer to a plate. The flour coating helps keep the cake from falling apart when you cook them as well as making a lovely crust. The flour did kind of cake up on my hands, though, making it hard to form the next patty. I solved this problem by making two patties, then coating them with flour, then rinsing the excess flour off under running water. I assembled them close to the sink.


Refrigerate the patties for at least 30 minutes, or until you are ready too them. I made everything until this point in the morning. I covered the patties with plastic wrap and refrigerated them until dinnertime.

Heat 1/2 c. canola oil in a large nonstick pan on medium high heat. Fry patties, in batches, until golden brown on each side, about 3 -5 minutes. Drain excess grease on paper towels.


Garnish with lemon slices and serve immediately.


Sunday, February 24, 2013

Okra


Since childhood, I have always had an affinity for fried okra. My waistline has not. On the flight home from our family vacation last summer, I picked up a copy of Fine Cooking magazine, the grilling issue. They had a recipe for grilled okra. I was intrigued. Okra was in season, so on my next grocery run, I picked some up. Can I just say, grilled okra is AMAZING. My husband first looked at it and asked me if he really had to eat it. He ended up eating more than I did. We ate it again the next night. I feel as if we have found a brand new vegetable. The sliminess usually associated with okra seems to fade out on the grill. It is also big enough that you can just throw it onto the grill and it doesn't fall through the grates the way asparagus does. I changed up the recipe a little from the one in the magazine, but the grilling technique is the same. I use Mexican crema, which you can find in the refrigerated section of almost any grocery store, for the sauce. It is amazing stuff, Mexico's version of crème fraiche at a 1/3 of the cost. You can always substitute sour cream.

Grilled Okra

1/2 - 1 lb. okra
1/2 lemon
1 Tbl. olive oil
salt and pepper

Sauce

1/3 c. Mexican crema
1 tsp. salt
1 tsp. lemon juice
1/4 tsp. paprika
1/2 tsp. creole seasoning

Wash okra in a colander.


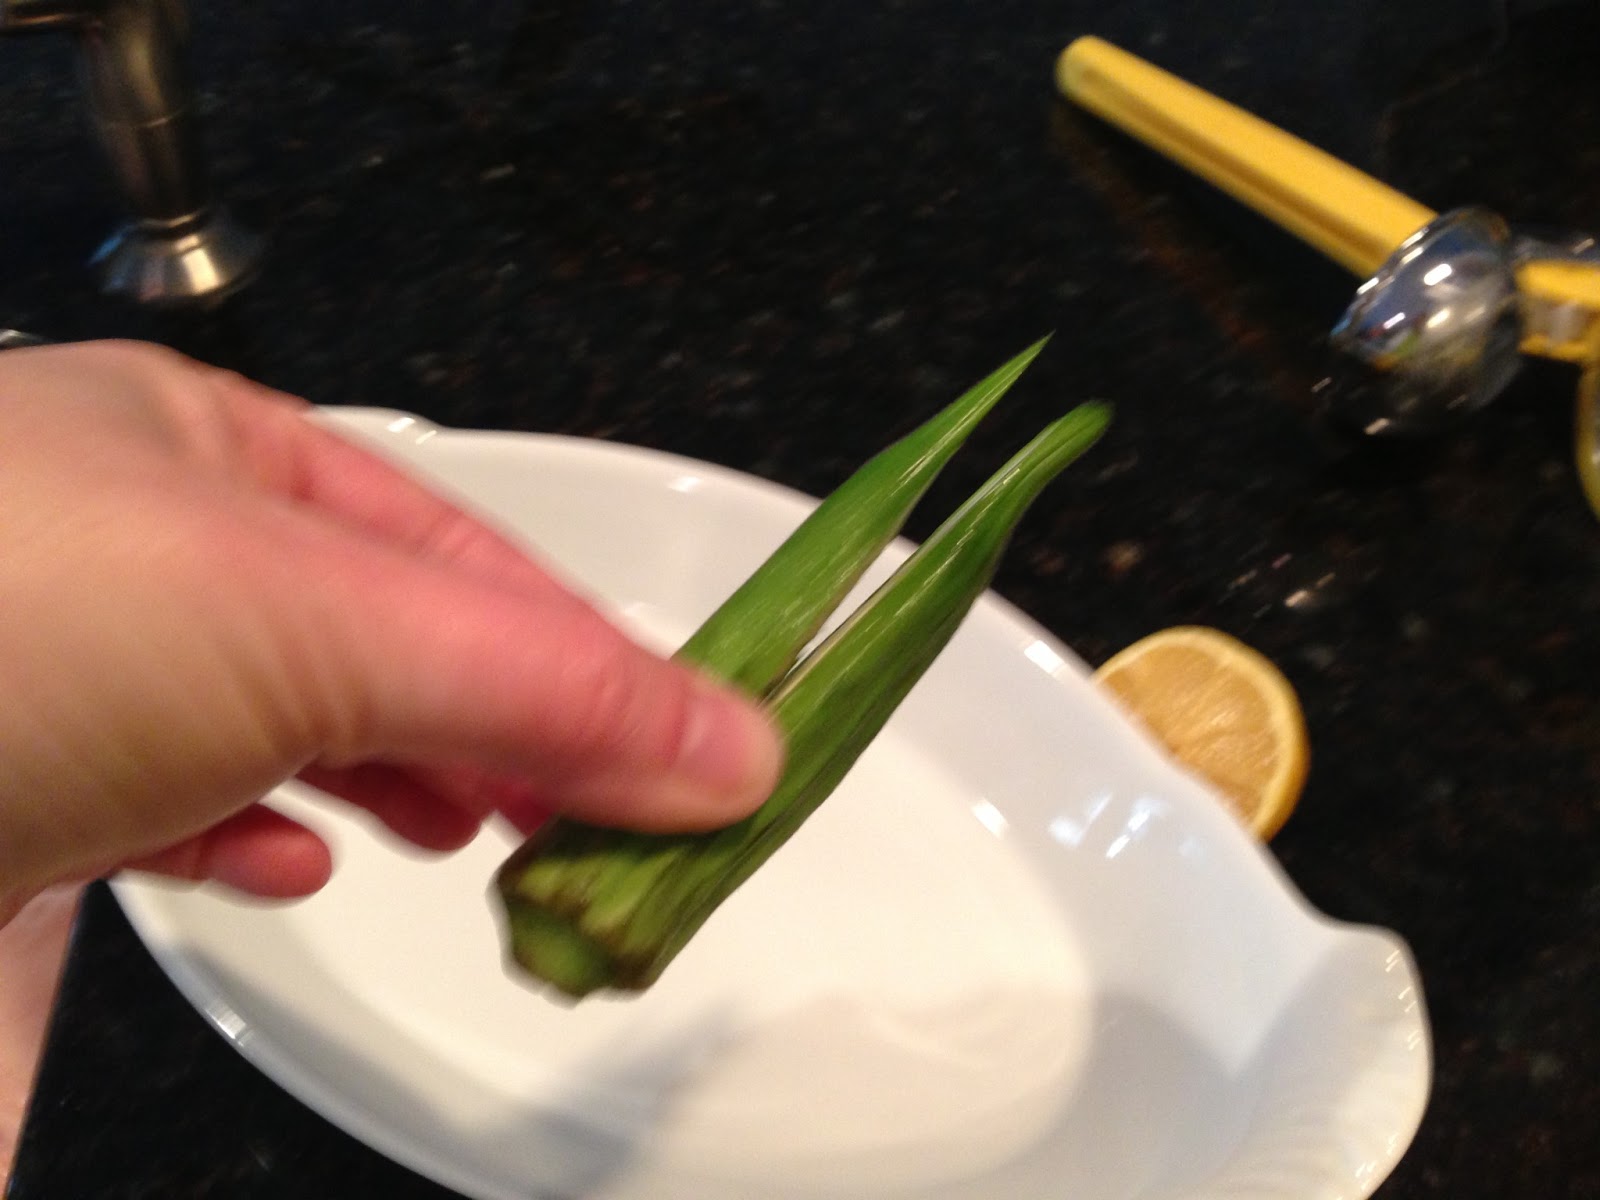
The take a knife and cut the okra in half starting at just below the top of the vegetable.


 One you have all of the okra prepped. Add the olive oil, salt and pepper. I rub the lemon half in the olive oil, too.


Heat grill on high. toss the okra onto the grill. Cook the okra on medium high heat for about 5-8 minutes, turning occasionally. You want the okra to be soft and somewhat charred. I personally really like the charred okra, so I tend to cook them a little longer than when my husband is grilling them. I also grill the lemon cut side down while the okra are grilling. When you take them off of the grill, squeeze the juice over the okra.

For the sauce, mix all the ingredients together, taste and adjust seasonings if needed. Serve alongside the grilled okra.


I couldn't get a picture in before my husband and I dove in. Next time we make them, I'll update and add some better shots.

Tuesday, February 12, 2013

Warm Fennel Orange Salad


This post was also going to include a new way I was trying to cook pork chops. Unfortunately, I had a leaning process with my instant read thermometer. Here is what I can relay from my learning experience. When taking the temperature of meat that you have been cooking for what appears to be an adequate amount of time, double check that your thermometer is not reading the temperature in Celsius. Because when you cook pork chops to 180 F. before realizing your mistake, they taste like cardboard.

So, I will just post the recipe for this delicious side dish. With perfectly cooked pork chops, this dish is amazing. Fennel and pork are a match made in heaven. The flavors in this dish, aren't what one would normally think of in composing a side. However, they really work well together.

This dish can be made ahead and served at room temperature, also. For me, though, it tastes best nice and warm from the pan. I useually prep all of the ingredients ahead, so putting it together is fast.

Here is the recipe:

Warm Fennel Orange Salad

1 Fennel bulb, tops removed, sliced (reserve some of the fennel fronds for garnish)
1 tsp. olive oil
1 orange, segmented, juices reserved. I package of mandarin oranges will also work if you do nohave a fresh orange.
1/4  Red onions, sliced thinly
2 TBL capers, drained
Salt and pepper to taste
Drizzle of good olive oil

Sauté fennel in a nonstick pan with the olive oil over medium high heat until fennel is softened and beginning to brown. Arrange fennel over bottom of serving plate. Spread red onions, orange segments, and capers over. Drizzle some of the remaining orange juice and good olive oil over the salad. Sprinkle with Chopped fennel fronds and Fleur de sel. Serve immediately or may sit at room temperature until ready to serve.


Monday, January 28, 2013

Chicken Marsala


Chicken marsala is easy to make, and a home run with my family.  Here is the recipe that I use.

Chicken Marsala 
(serves 4)

2 Chicken breasts, boneless, skinless
1 lb mushrooms, preferably cremini, sliced
1/2 onion, chopped
2 Tbl olive oil
1/2 Tbl butter
1/2 c. Marsala wine
2 tsp. tarragon, dried
2/3 c. chicken stock
1 Tbl cornstarch
1/4 c. chicken stock or water
2 Tbl chopped parsley


Slice your mushrooms.


Cut each chicken breast in half.


Place one of the chicken breasts between two pieces of plastic wrap. Pound the breast with a meat mallet. I used a can of vegetables before I splurged on a mallet.


Pound each breast to about 1/4 inch thick. It works best to pound from the middle out. The main goal is to make the breasts a uniform thickness throughout. Wash hands well after handling the chicken.


Heat olive oil over medium high heat.  Salt and pepper each piece of chicken. Brown the chicken breasts in batches. After each piece is browned, set aside on a plate.


Next, add onions and mushrooms to the same pan that you sautéed the chicken in. Use the remaining oil in the pan to start cooking the onion/mushroom mixture. I add the pat of butter to give the mushrooms a richer flavor. Salt and pepper the mushrooms to taste. Scrape up the brown bits on the bottom of the pan as the mushrooms cook.

When the mushrooms have cooked through, add in the marsala wine to the pan.


Let the wine come to a boil to burn off the alcohol. Add in the tarragon and the chicken stock. Return the chicken to the pan and add in any juices that have accumulated on the plate.


Simmer the mixture for about 6 minutes over medium heat, until the chicken is cooked through. Since the chicken is so this, it won't take long to finish cooking.


Dissolve the cornstarch in the remaining broth or water. Add it into the pan. Bring the sauce to a boil, so the cornstarch thickens the sauce. Add in chopped parsley and serve immediately.